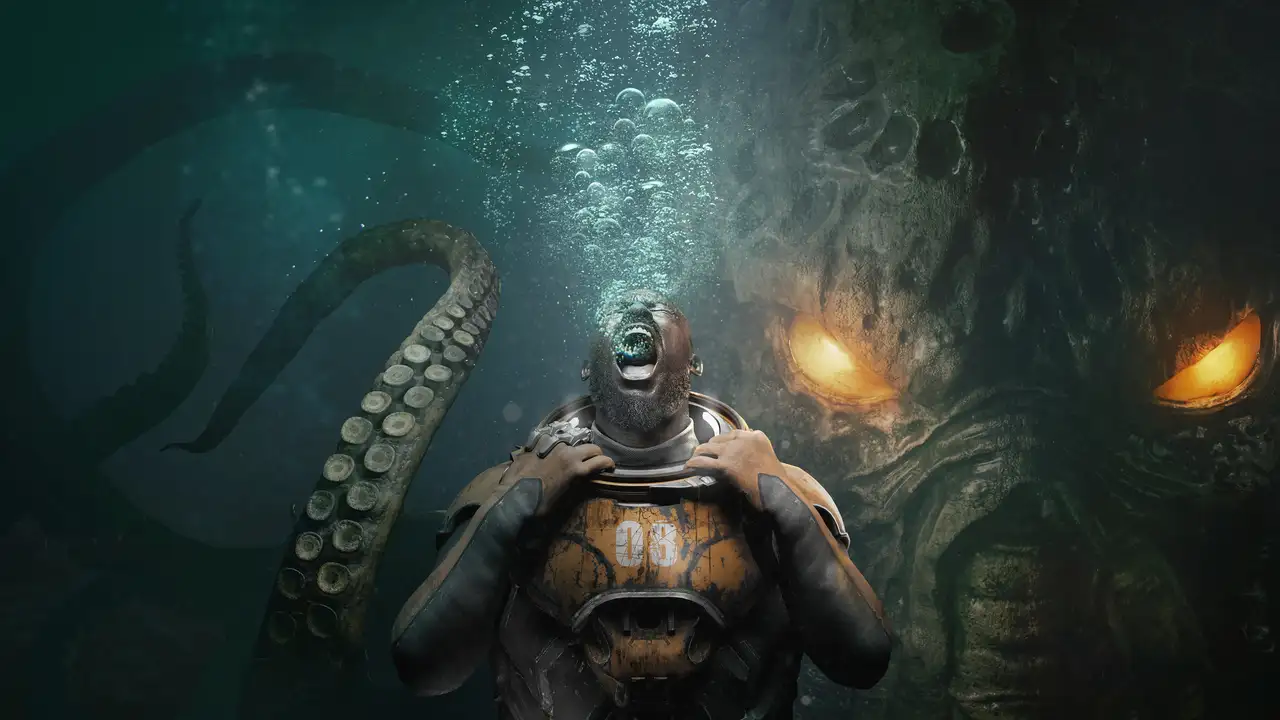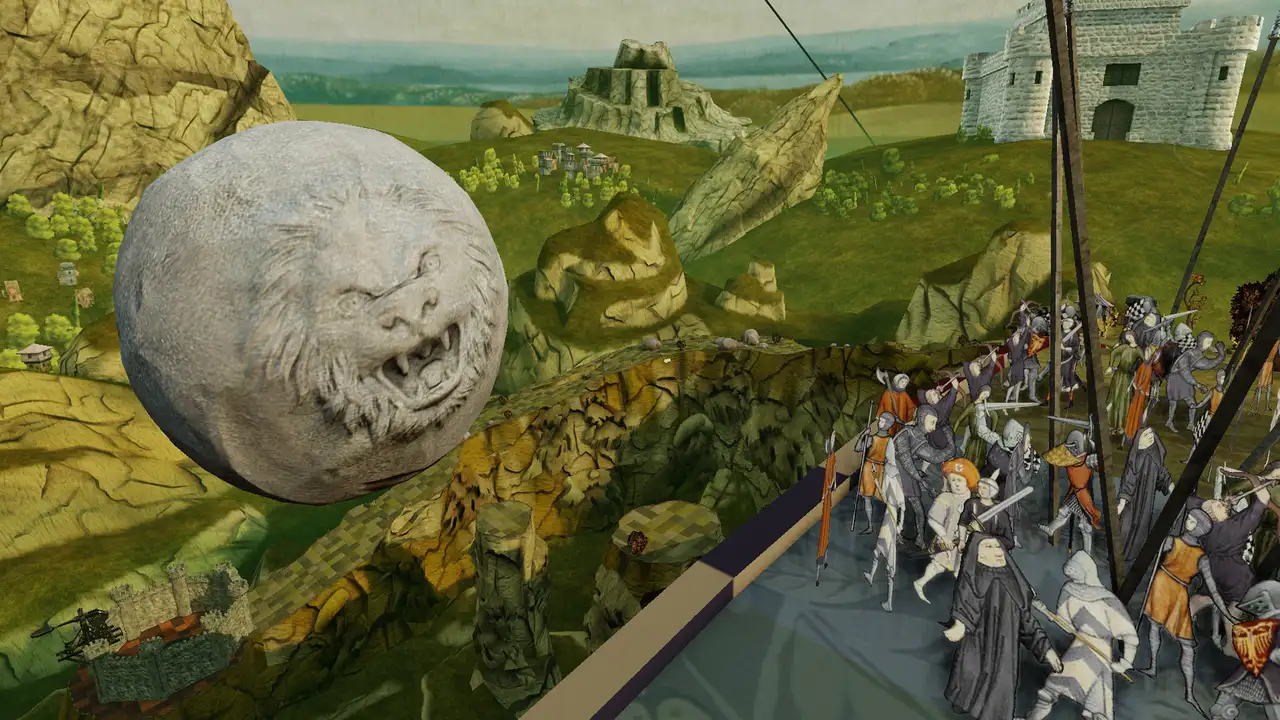
A summons to Grey Holme opens the campaign: a mysterious Craftsman sets a test across the estate’s rooms, each solved contraption yielding an engraved pyramid, until the final gateway poses a question about mazes and labyrinths that reframes everything. The escalation from mechanical puzzling to cosmic-horror trap is the boldest structural move the series has made, and it lands. Atmosphere runs noticeably darker than its predecessors, with jump scares, doll-eyed fortune tellers and real-time clocks seeding a genuinely unsettling undertone. The tactile physicality survives the scale increase intact, hands still turning, sliding and unlocking everything on screen.
The estate-spanning puzzle variety is the standout. A workshop, lighthouse, clock tower, forge and observatory each house distinct contraptions: domino and route-tracing puzzles, a knight’s-move chess board, a forge where keys are literally reforged from the same ingot, and constellation puzzles overhead. The sheer range exceeds what the series managed in its first two entries combined, and the manor feels like one continuous machine rather than a sequence of boxes. Roughly four and a half hours covers a full completion, double the expected series length, and none of it pads.
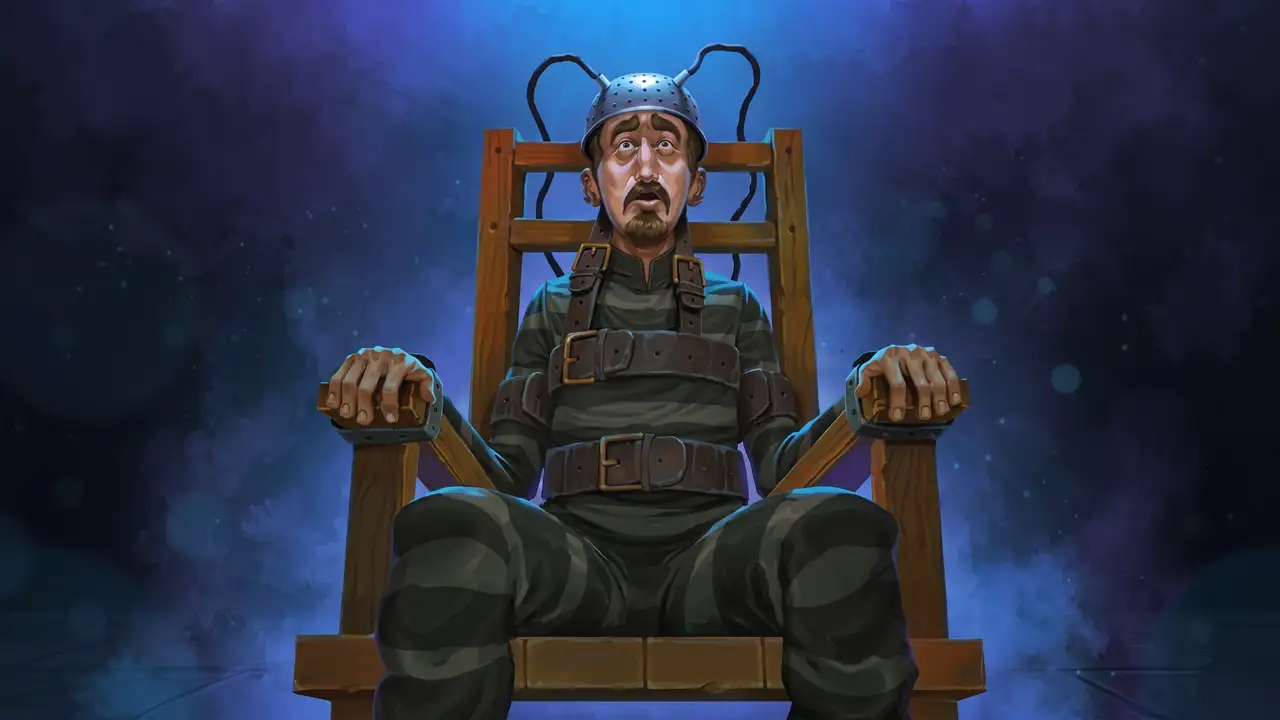
The multiple-endings structure gives the finale real momentum. Four conclusions, imprisonment, escape, release and the true lost ending, each carry their own note and jump scare, and the change-your-fate system lets every variant be collected without redoing the campaign. Progress persists between runs, a mercy that turns the finale into a completionist victory lap rather than a grind. A hidden-artifact layer and a fortune-teller reveal add meta-texture to the replay structure.
One puzzle deserves singular mention: the real-time clock ending, which requires waiting out the actual current time, minutes and all. It is the kind of design almost no puzzle game dares, at once a clever physical gag and an impish imposition on anyone who wants to keep playing. As a closing flourish it is memorable, though its patience tax is real and deliberately so.
The camera and turn controls are the campaign’s clearest friction. Rotating a puzzle piece too often swings the perspective instead, a particular nuisance in sliding-block puzzles where precision matters, and a perspective lock during manipulation is sorely missed. The blue crystal beam puzzle defeated a first approach through pure misunderstanding rather than design fault, and deserves exoneration; nothing else in the estate stonewalled legitimately.
The Craftsman himself earns the narrative’s momentum, his trap reveal converting a puzzle tour into a horror-tinged escape attempt mid-campaign. The fortune-teller’s chamber holds the series’ most effective single reveal, a doll-eyed machine that turns out to be far more than decoration. Grey Holme as a location carries the escalation convincingly, its rooms growing stranger as the pyramids accumulate.
Overall, this is the series’ peak: the biggest, creepiest and most ambitious entry, turning its quiet puzzle-box formula into something genuinely unsettling and far larger than before. The estate-spanning variety, four-endings structure and real-time clock audacity outweigh the awkward camera controls and one real-time wait. A superb high point that keeps every earlier entry’s tactile charm.